Steps to Plan Your Session
Follow the step-by-step process below to plan your senior session with us!
This guide was created exclusively for ATS clients and is packed with everything you need to prepare for an incredible senior portrait experience. Because it is a special resource reserved for booked clients, please keep it private and do not share it with anyone who has not paid a retainer.
Simply work through the steps below, and use them as your roadmap for planning your session—from choosing outfits and locations to preparing for shoot day and receiving your final images. We've made the process simple, fun, and stress-free so you can feel confident every step of the way.
STEP 1.
Reserve vendors. The first two things you need to take care of that are time sensitive are (1) book a makeup artist ASAP (2) reserve Scattered Seeds Venue (Area 2), if you are planning to shoot there. If the farm is not available, do not stress - there are plenty of other amazing locations for your senior session. Both get booked out super fast, please reserve them literally as soon as possible. If they are already booked on the date of your shoot, we can try our best to re-schedule you to a different date. We HIGHLY recommend hiring a professional makeup artist, as this is a once-in-a-lifetime experience and it makes a big difference in how your photos turn out. It is important that you request a natural look (when you get your makeup done) and provide a photo for reference as well.
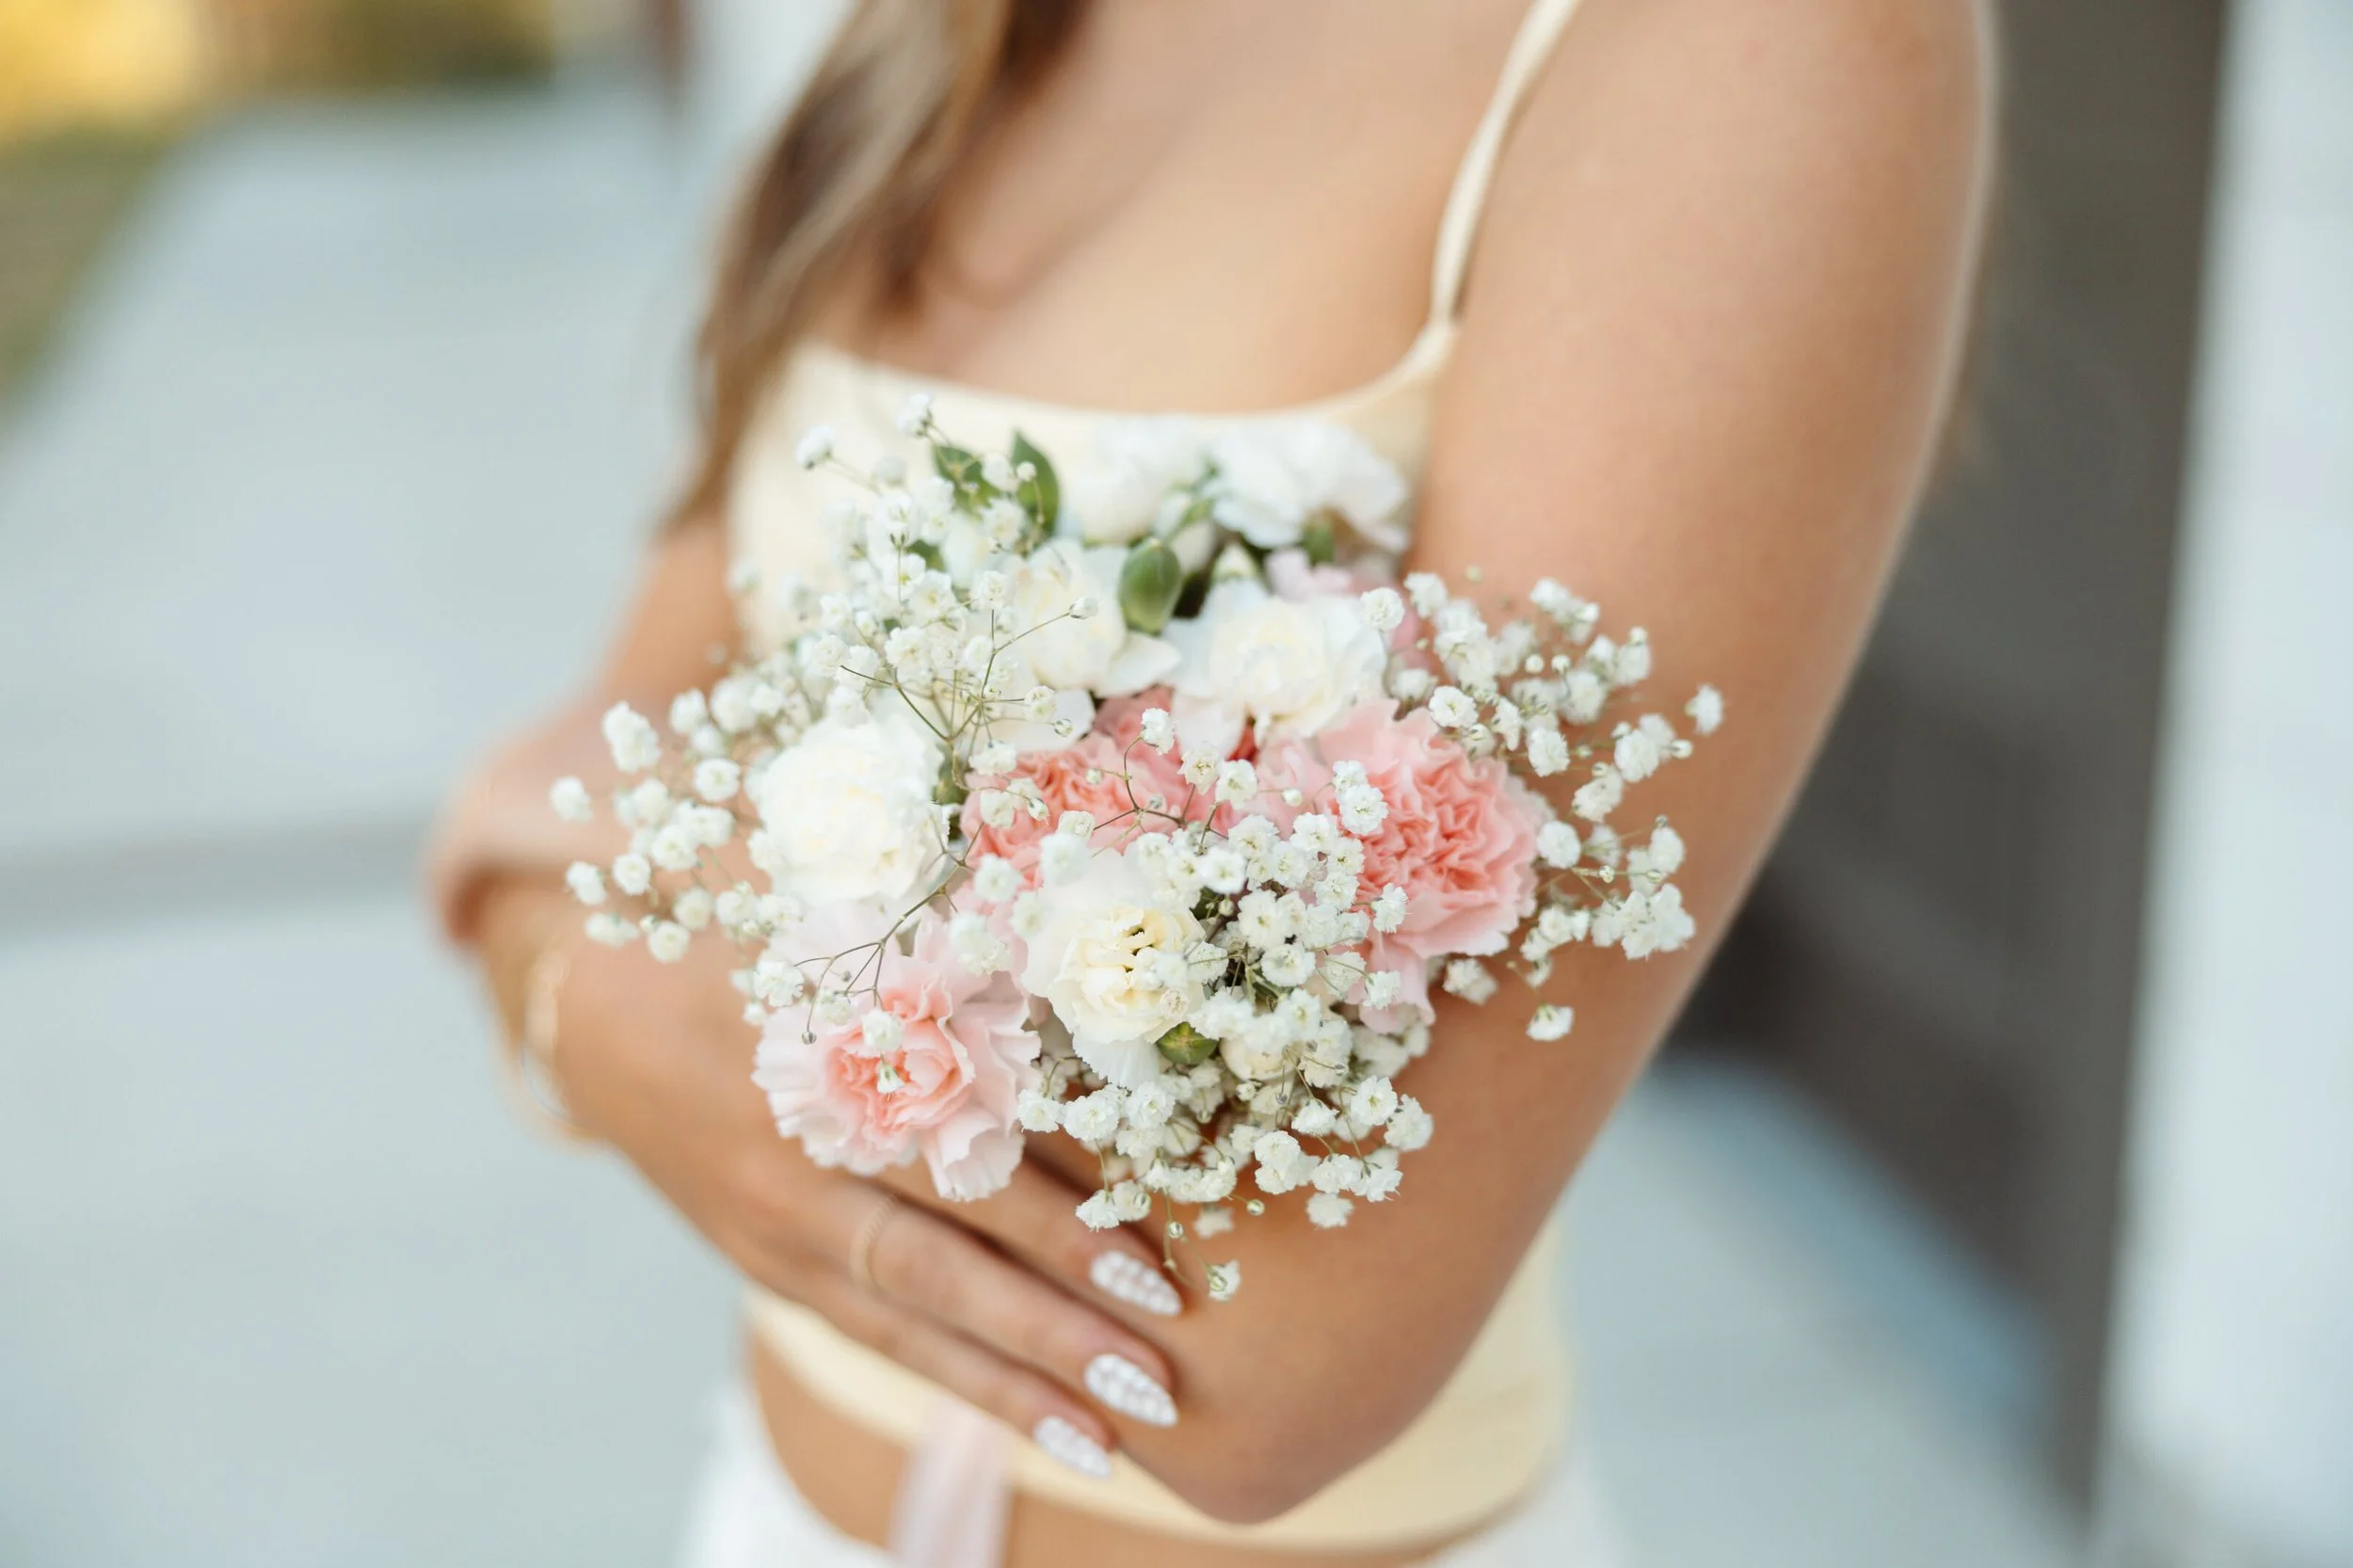
STEP 2.
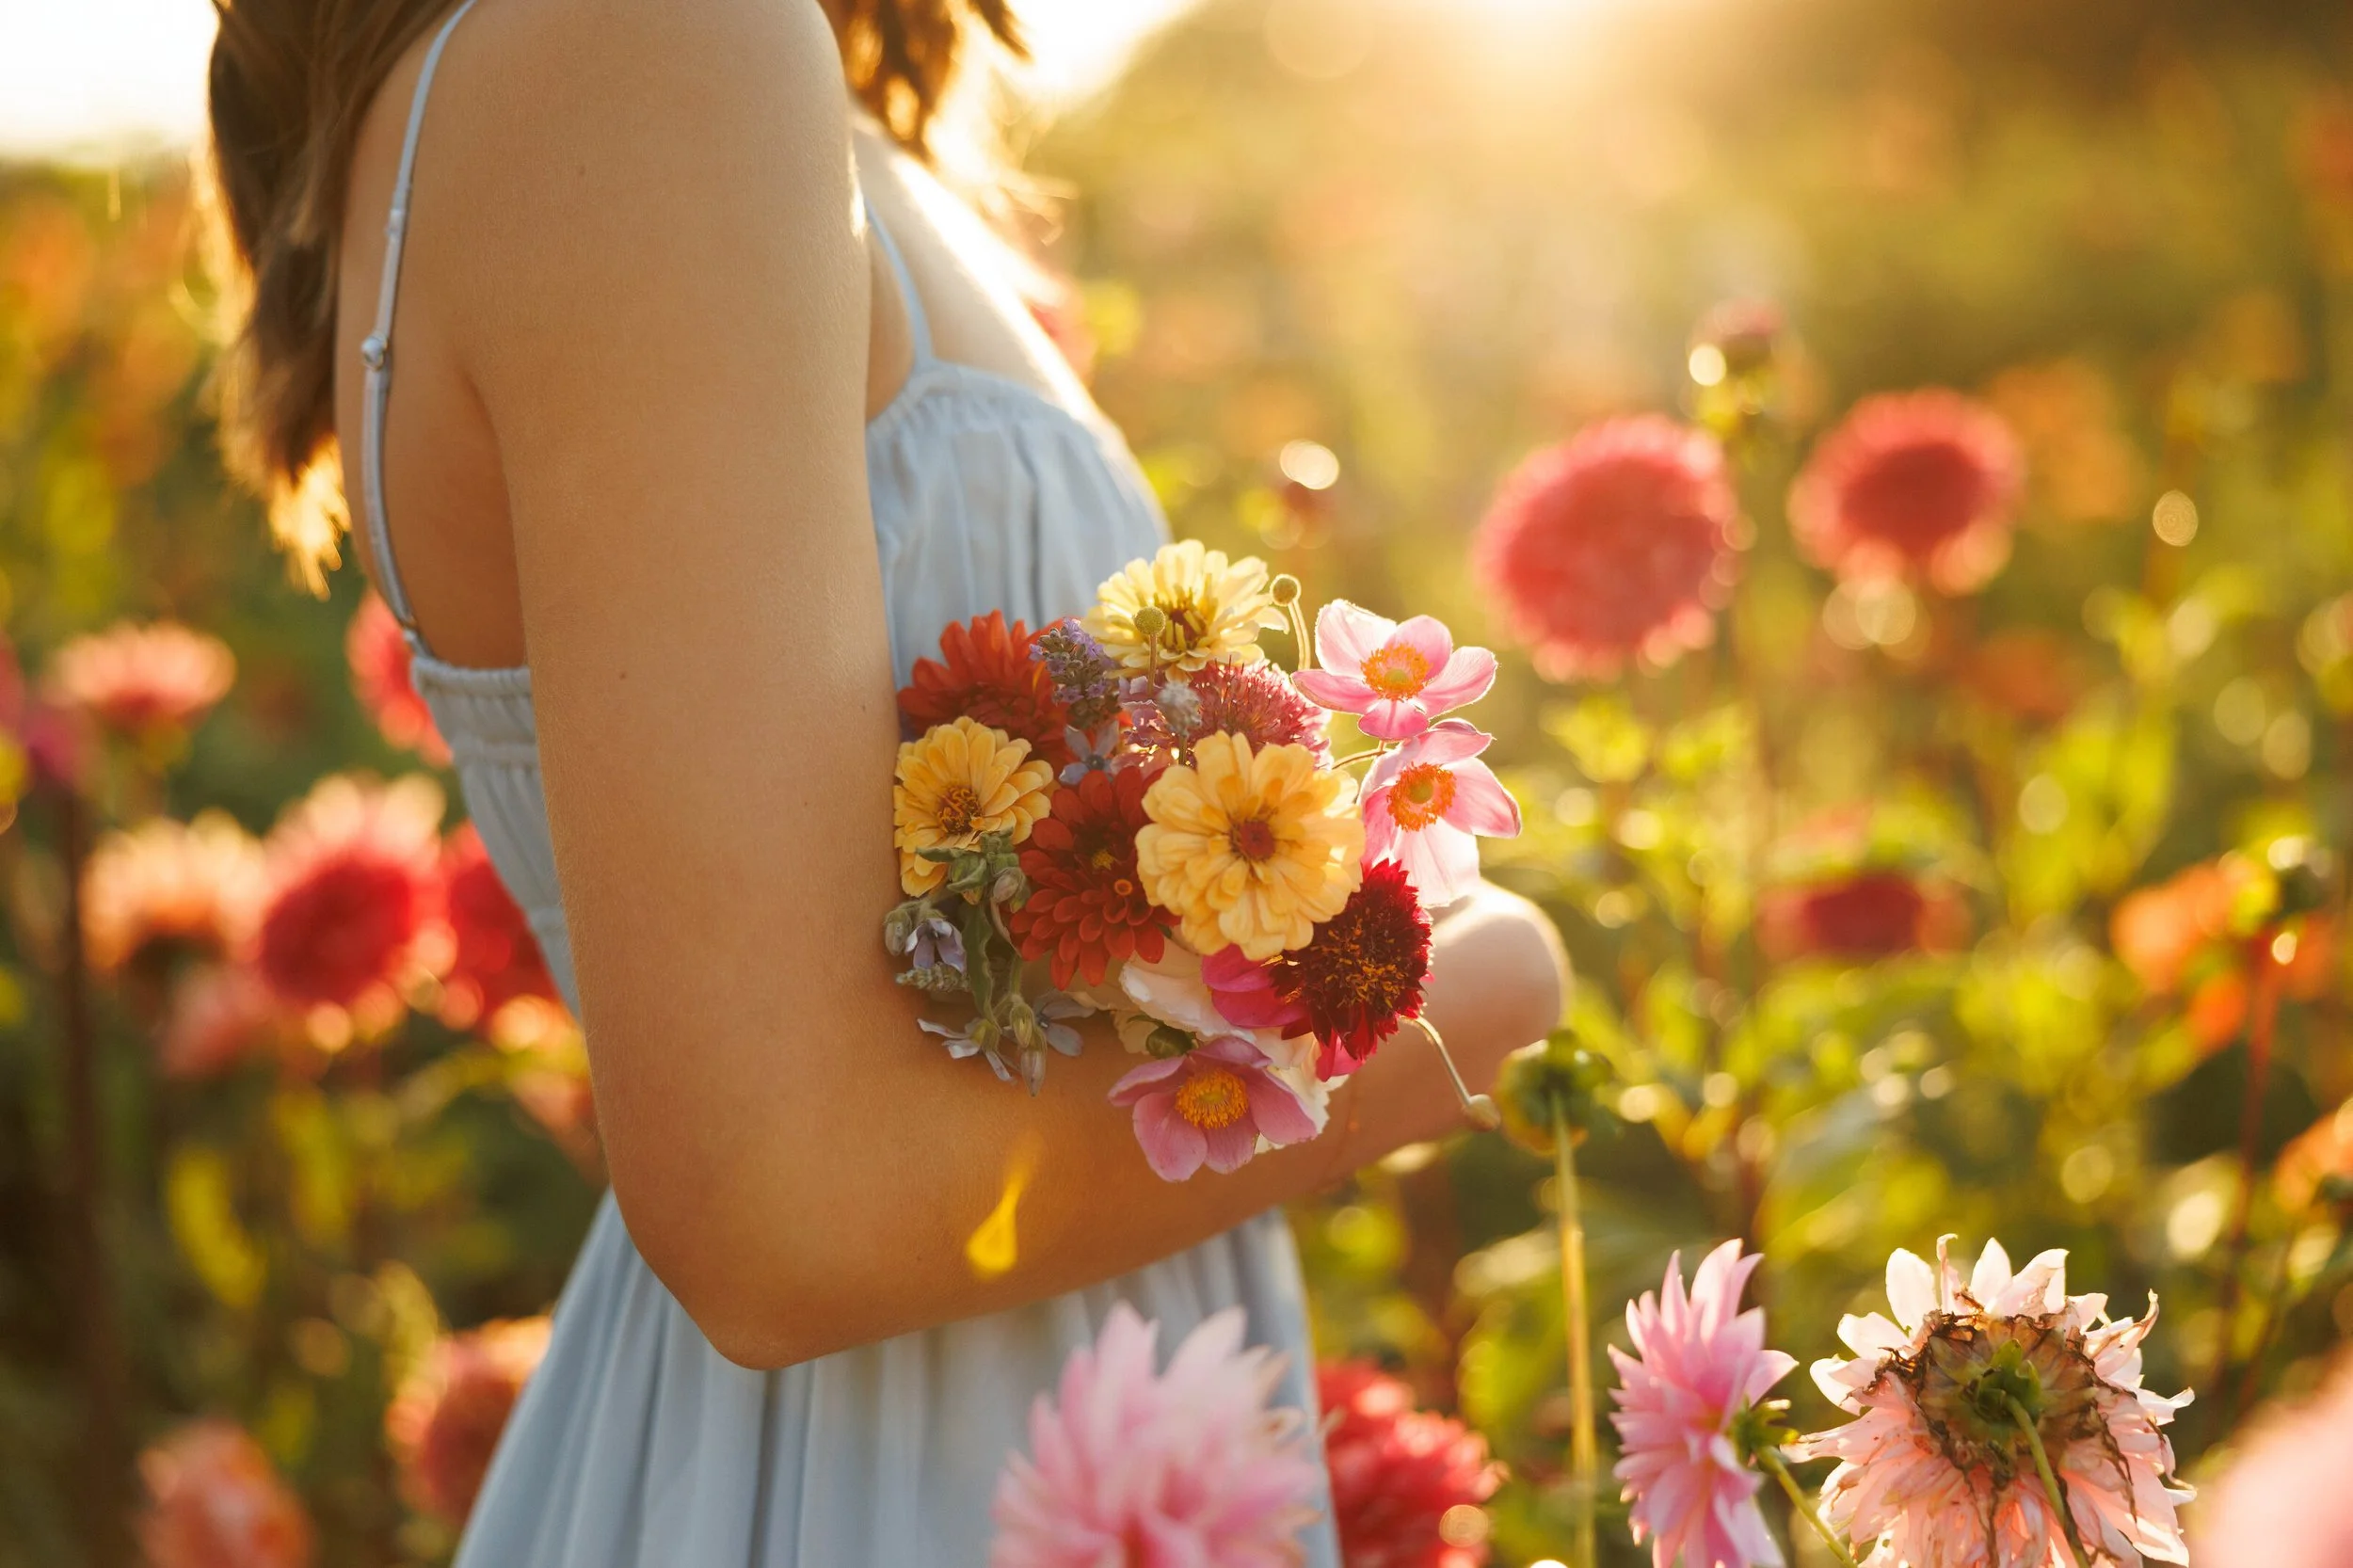
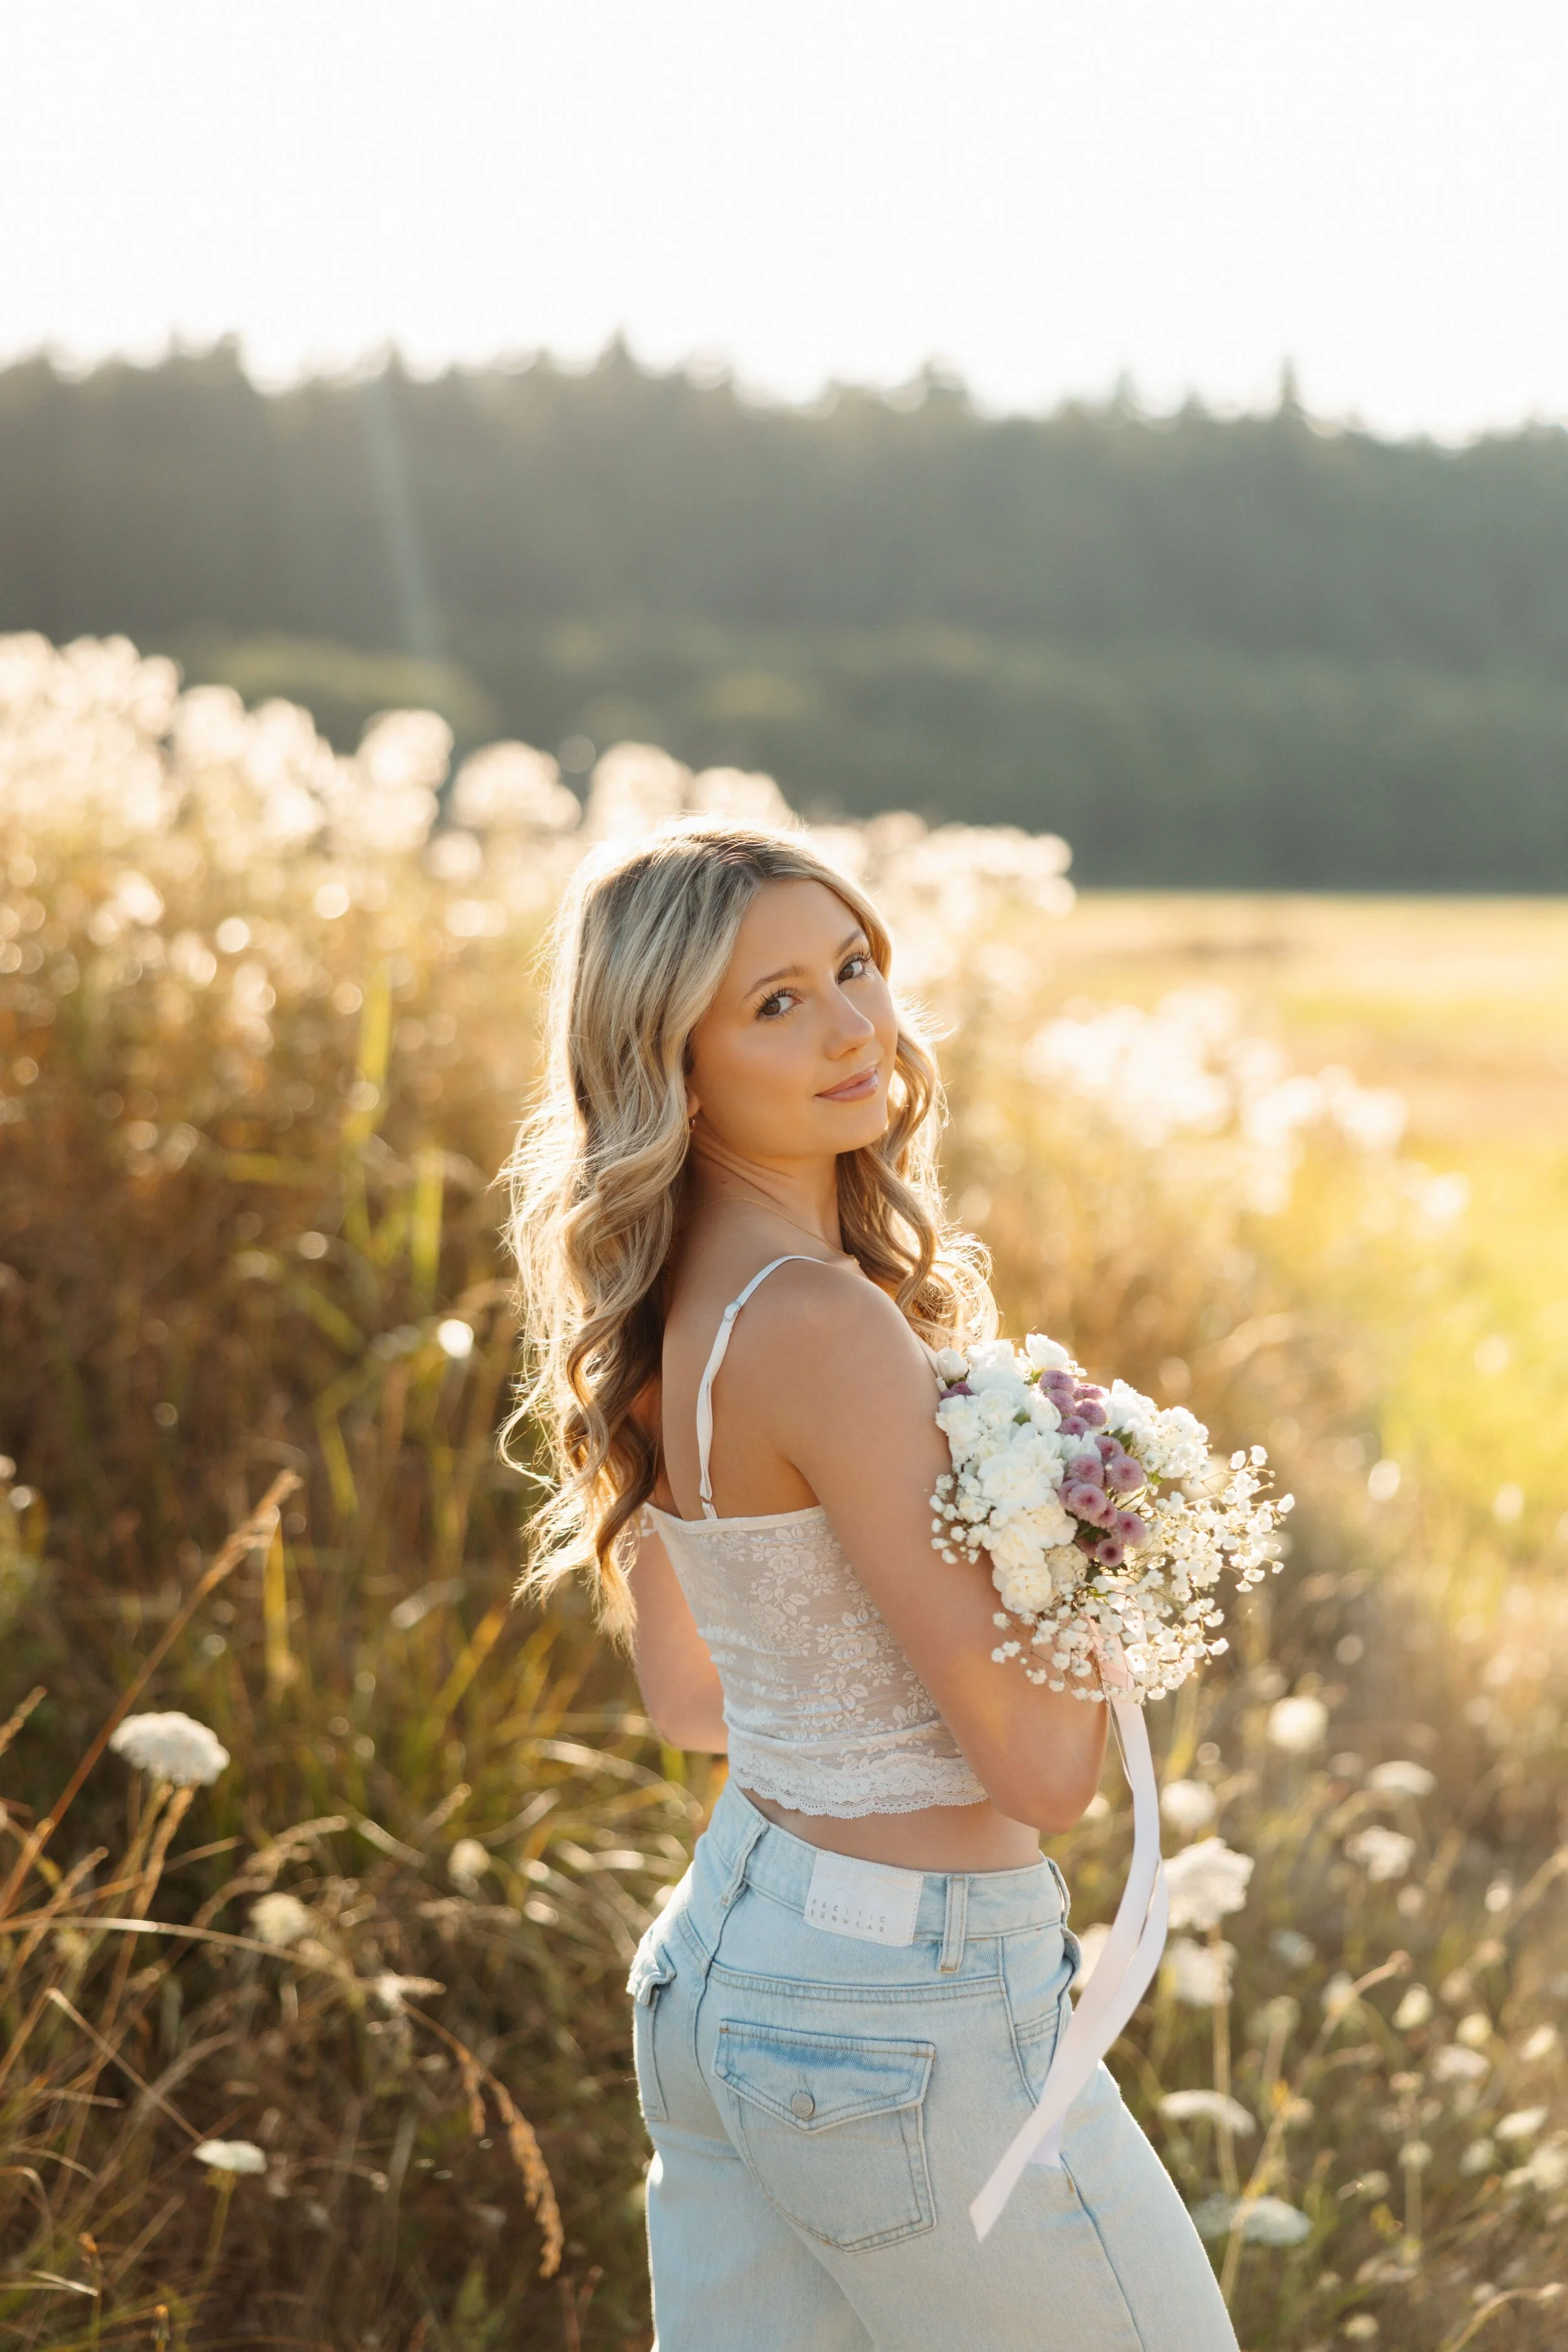
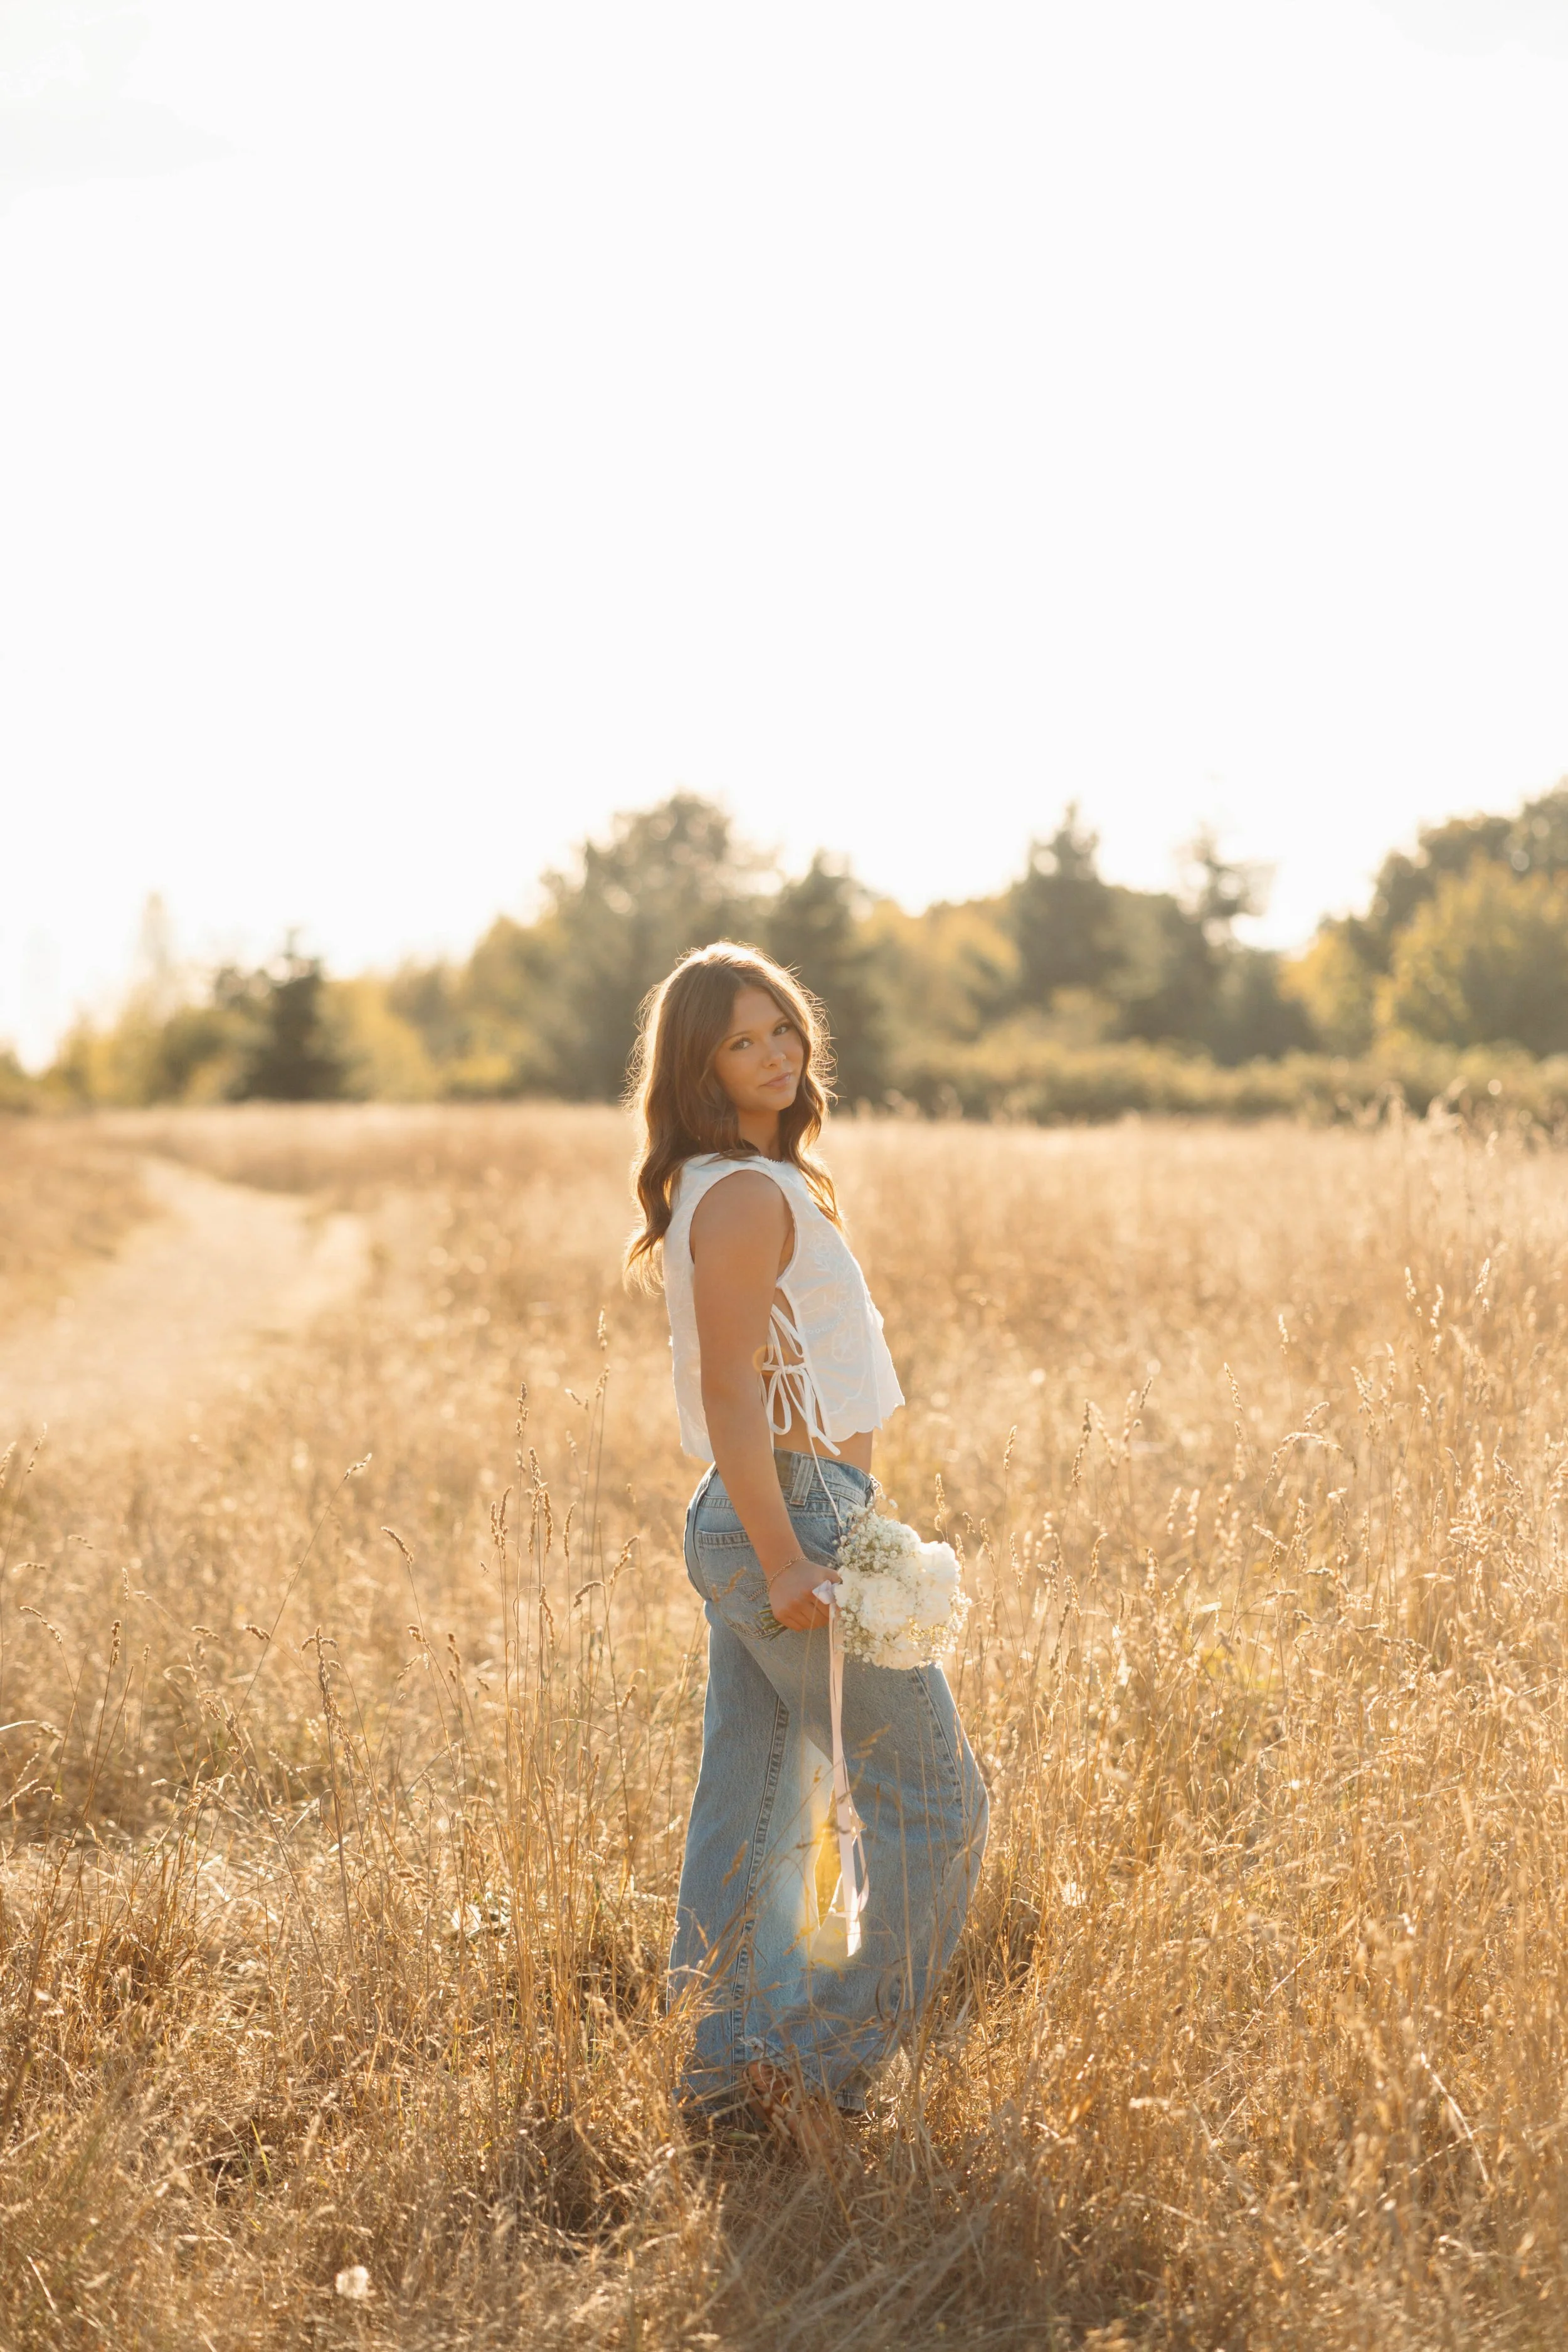
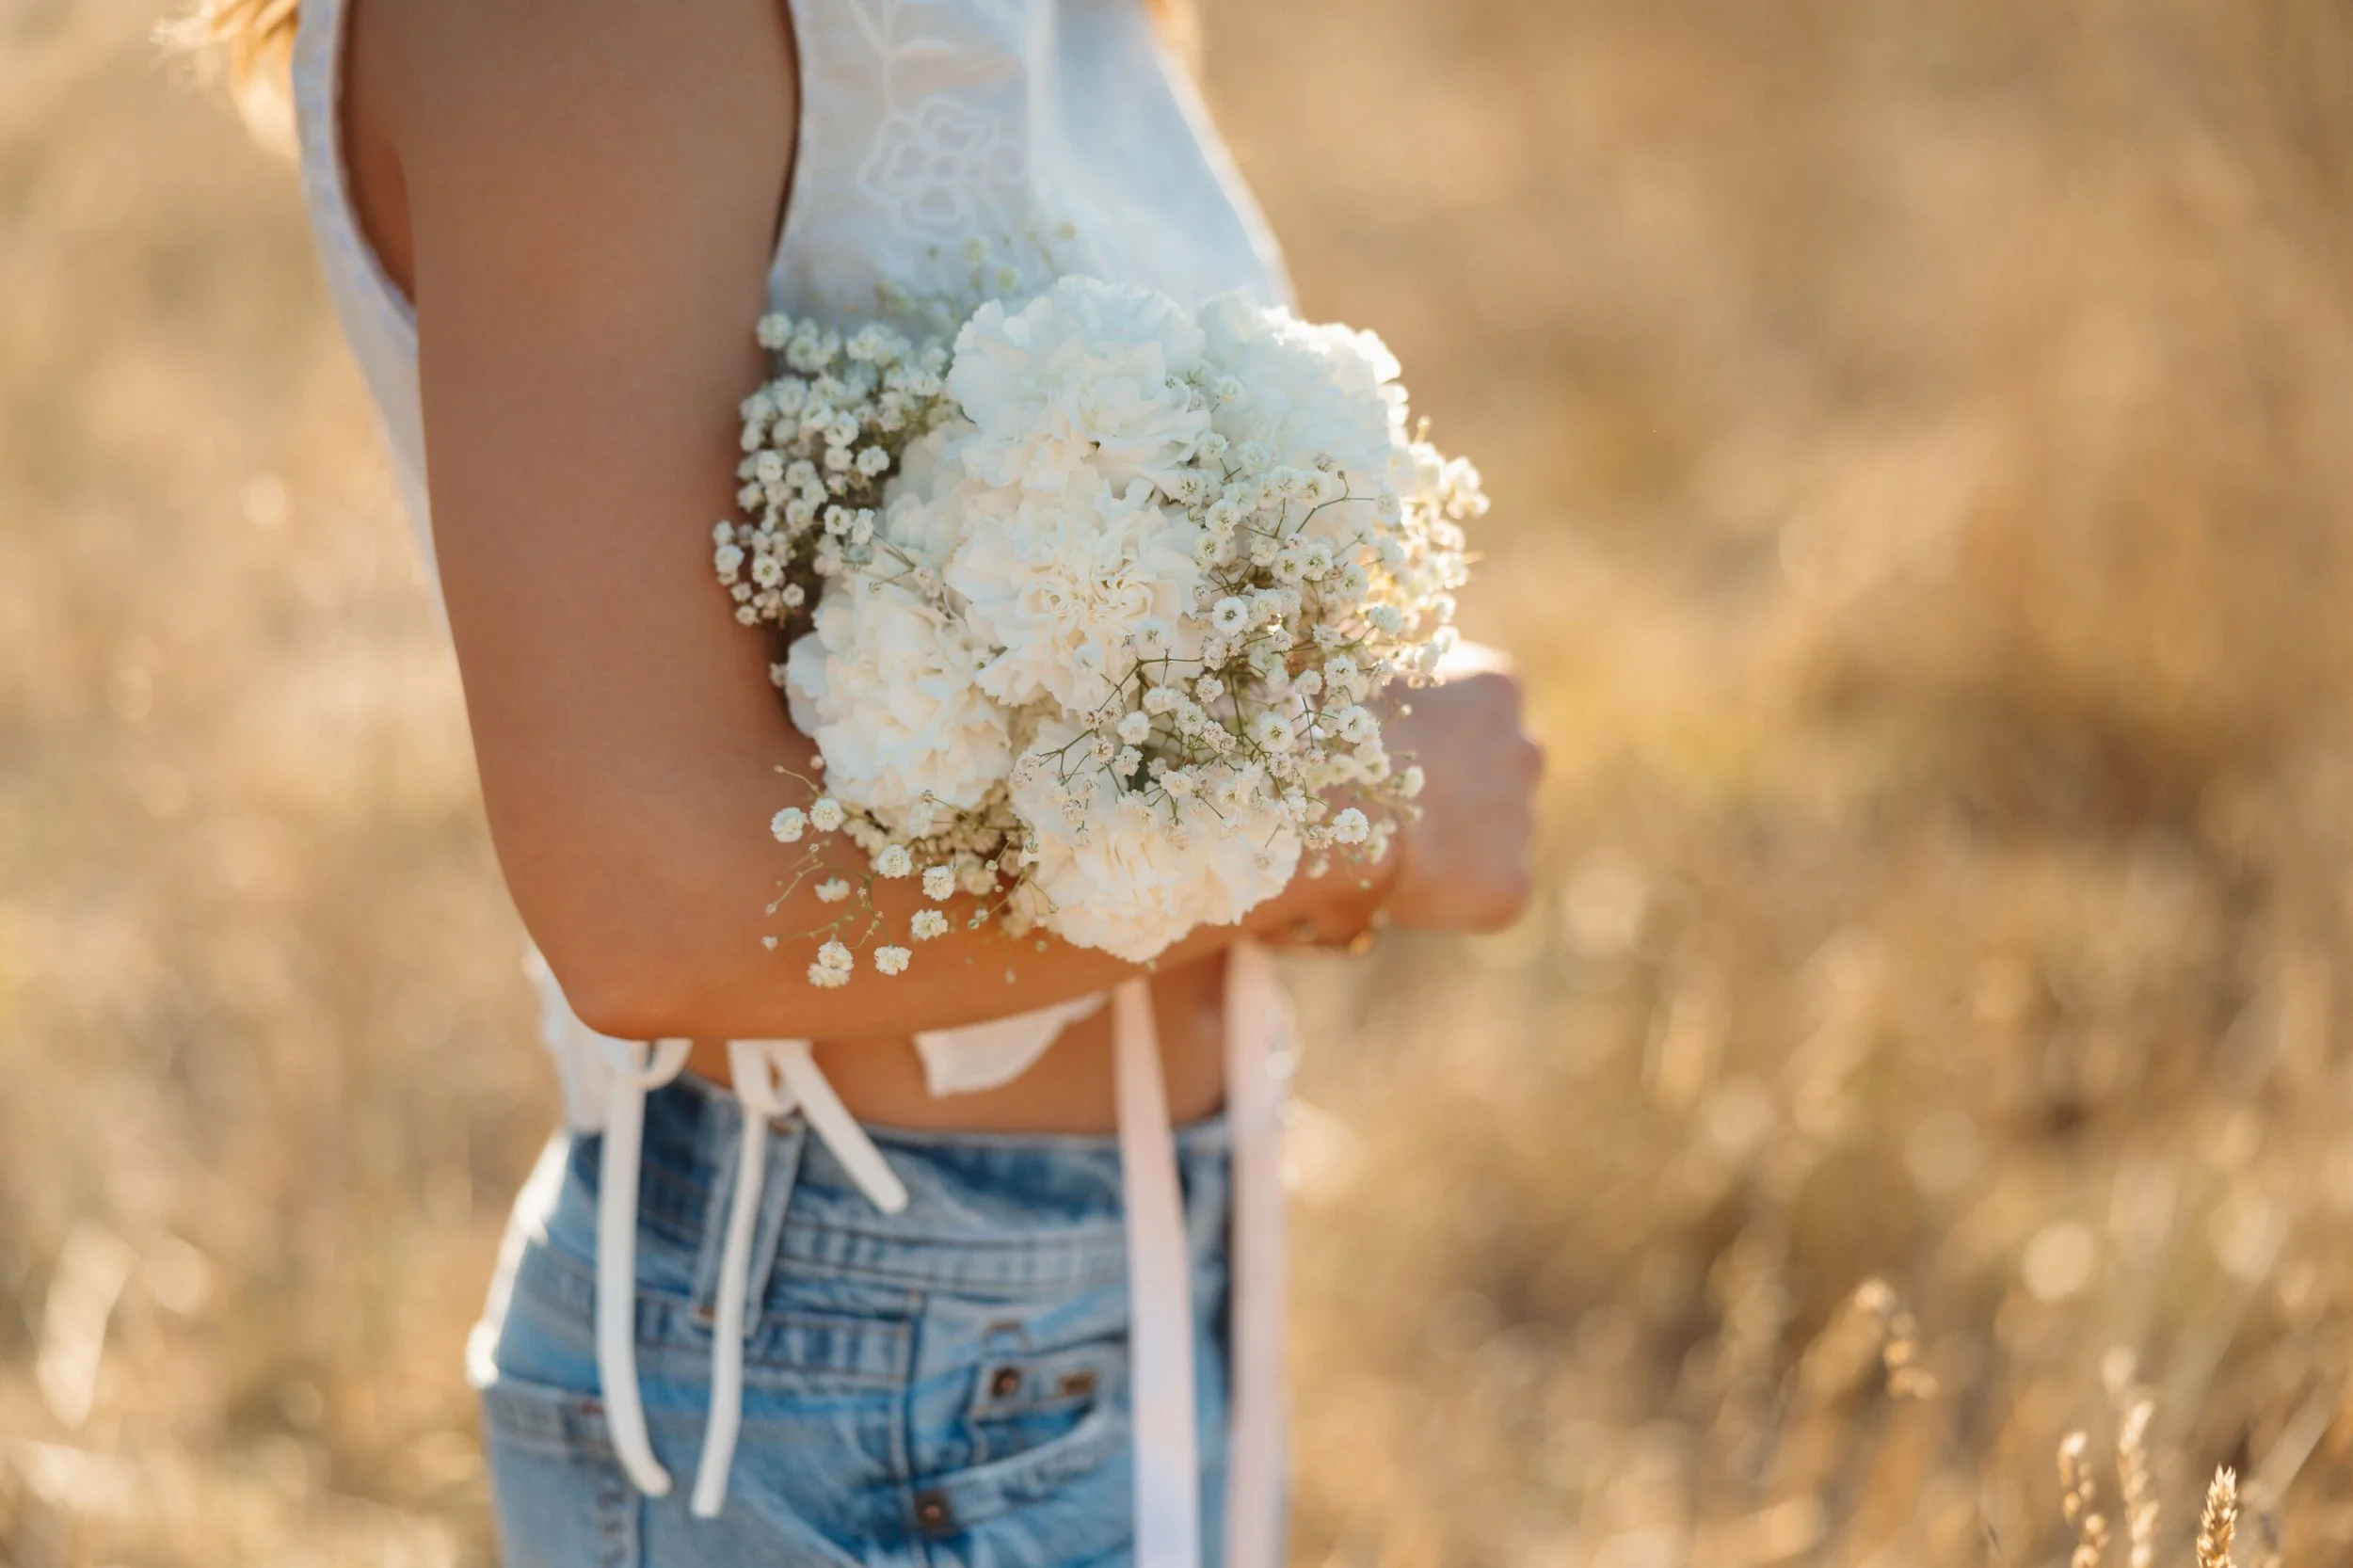
Order the bouquet. We highly recommend adding our signature ATS floral bouquet to your session (see example below). Click below to order it by texting us. It beautifully elevates your photos and adds a special charm to your senior gallery. Each bouquet comes with your choice of a white or baby pink bow. The bouquet is $75 and must be ordered in advance. It is specifically designed for senior sessions and professionally crafted by experienced florists to photograph beautifully and complement posing. WARNING! We’ve had clients try to recreate a similar bouquet on their own, but their versions often were not as flattering for posing or as visually complementary in photos as the bouquet we provide.
STEP 3.
Pay non-refundable retainer. This is the first step that you need to complete in order to book with us. If you are here, most likely you have already booked your senior session and paid the deposit ($350). We only share our Client Access website with those who have paid the deposit. This website contains a lot of valuable information that can help you prepare for any photoshoot. This is why the deposit in non-refundable.
STEP 4.
Sign the Contract & Review Your Invoice. Once your deposit has been paid, you will receive a contract and invoice via the email address you provided when booking your session. Please review the contract carefully and make sure it is signed as soon as possible, ideally the same day your deposit is paid or within a few days afterward. If you are under 18 years old, a parent or legal guardian must sign the contract on your behalf. If you do not receive the contract and invoice, please text us right away so we can resend them.
STEP 5.
Make final payment. The final payment is due 2 weeks prior to your session, as stated in your contract. The remaining balance can be found on your invoice and in the contract sent to your email. Please make sure your payment is submitted on time to secure your spot on our calendar. If the final payment isn’t received by the due date, your session may be removed from our calendar and the deposit will be retained. Late or missed payments will be considered a no-show, and the deposit will not be refunded. Once you submit your payment, text us right away to confirm that it has been sent.
STEP 6.
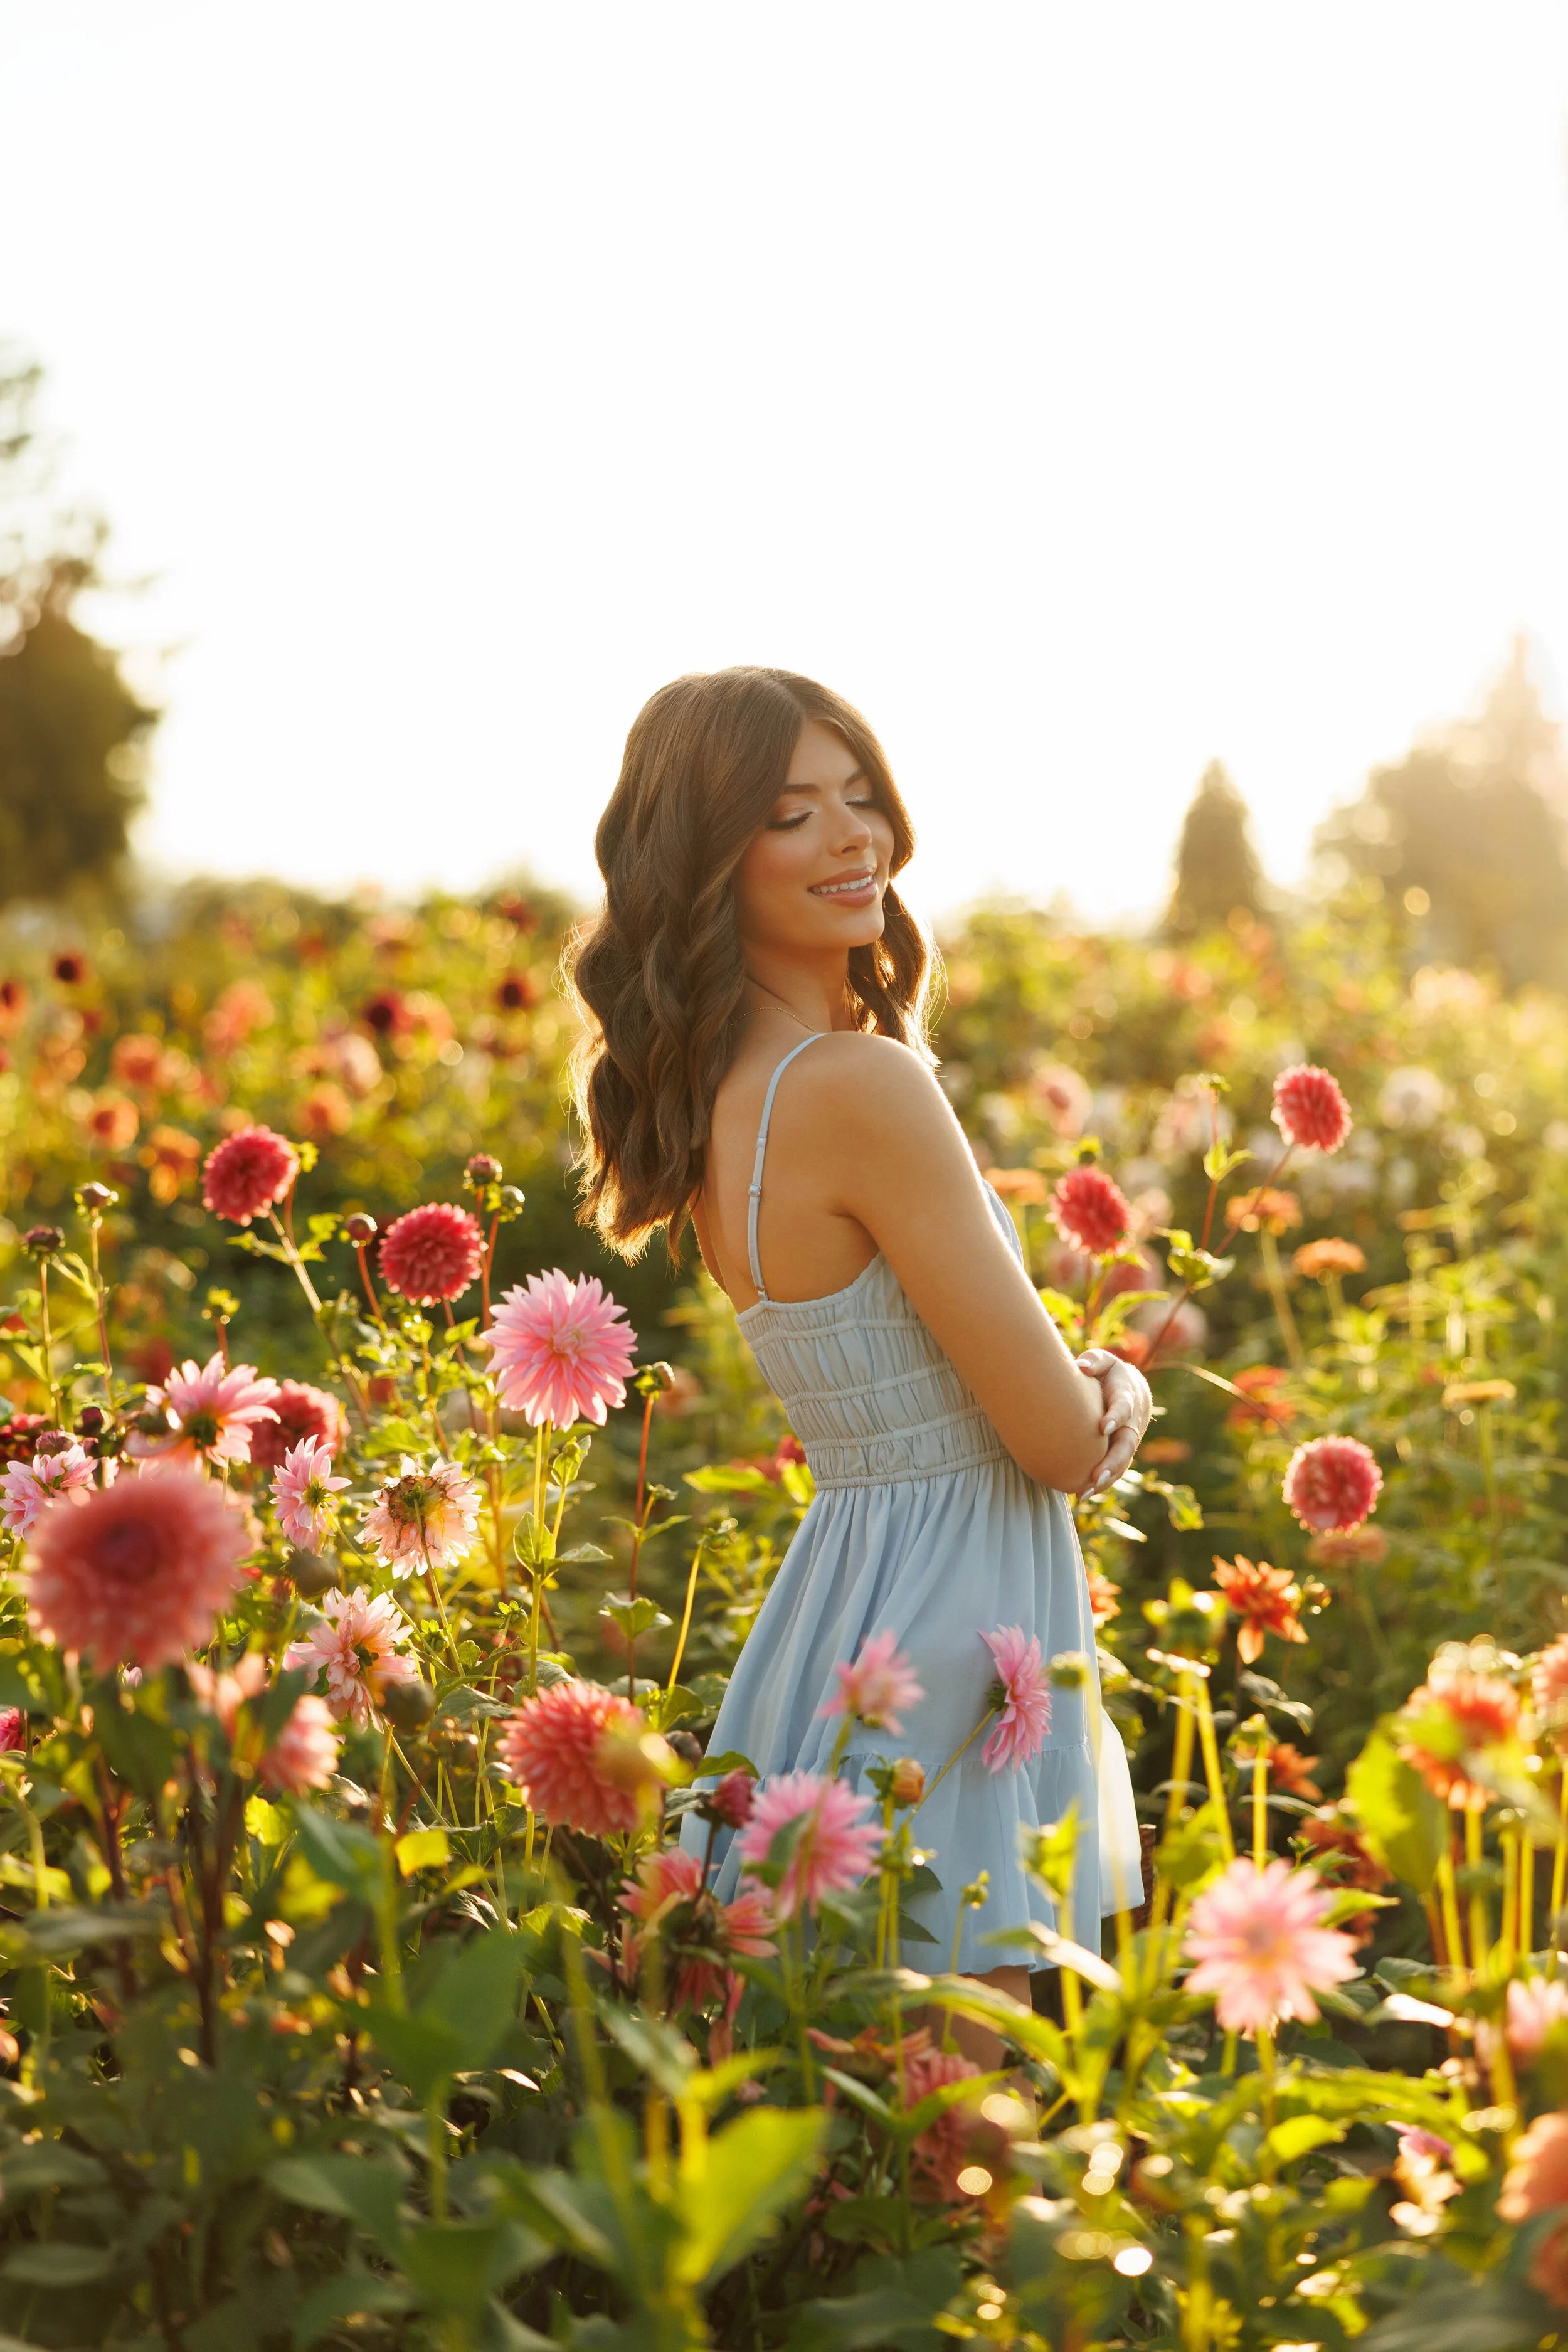
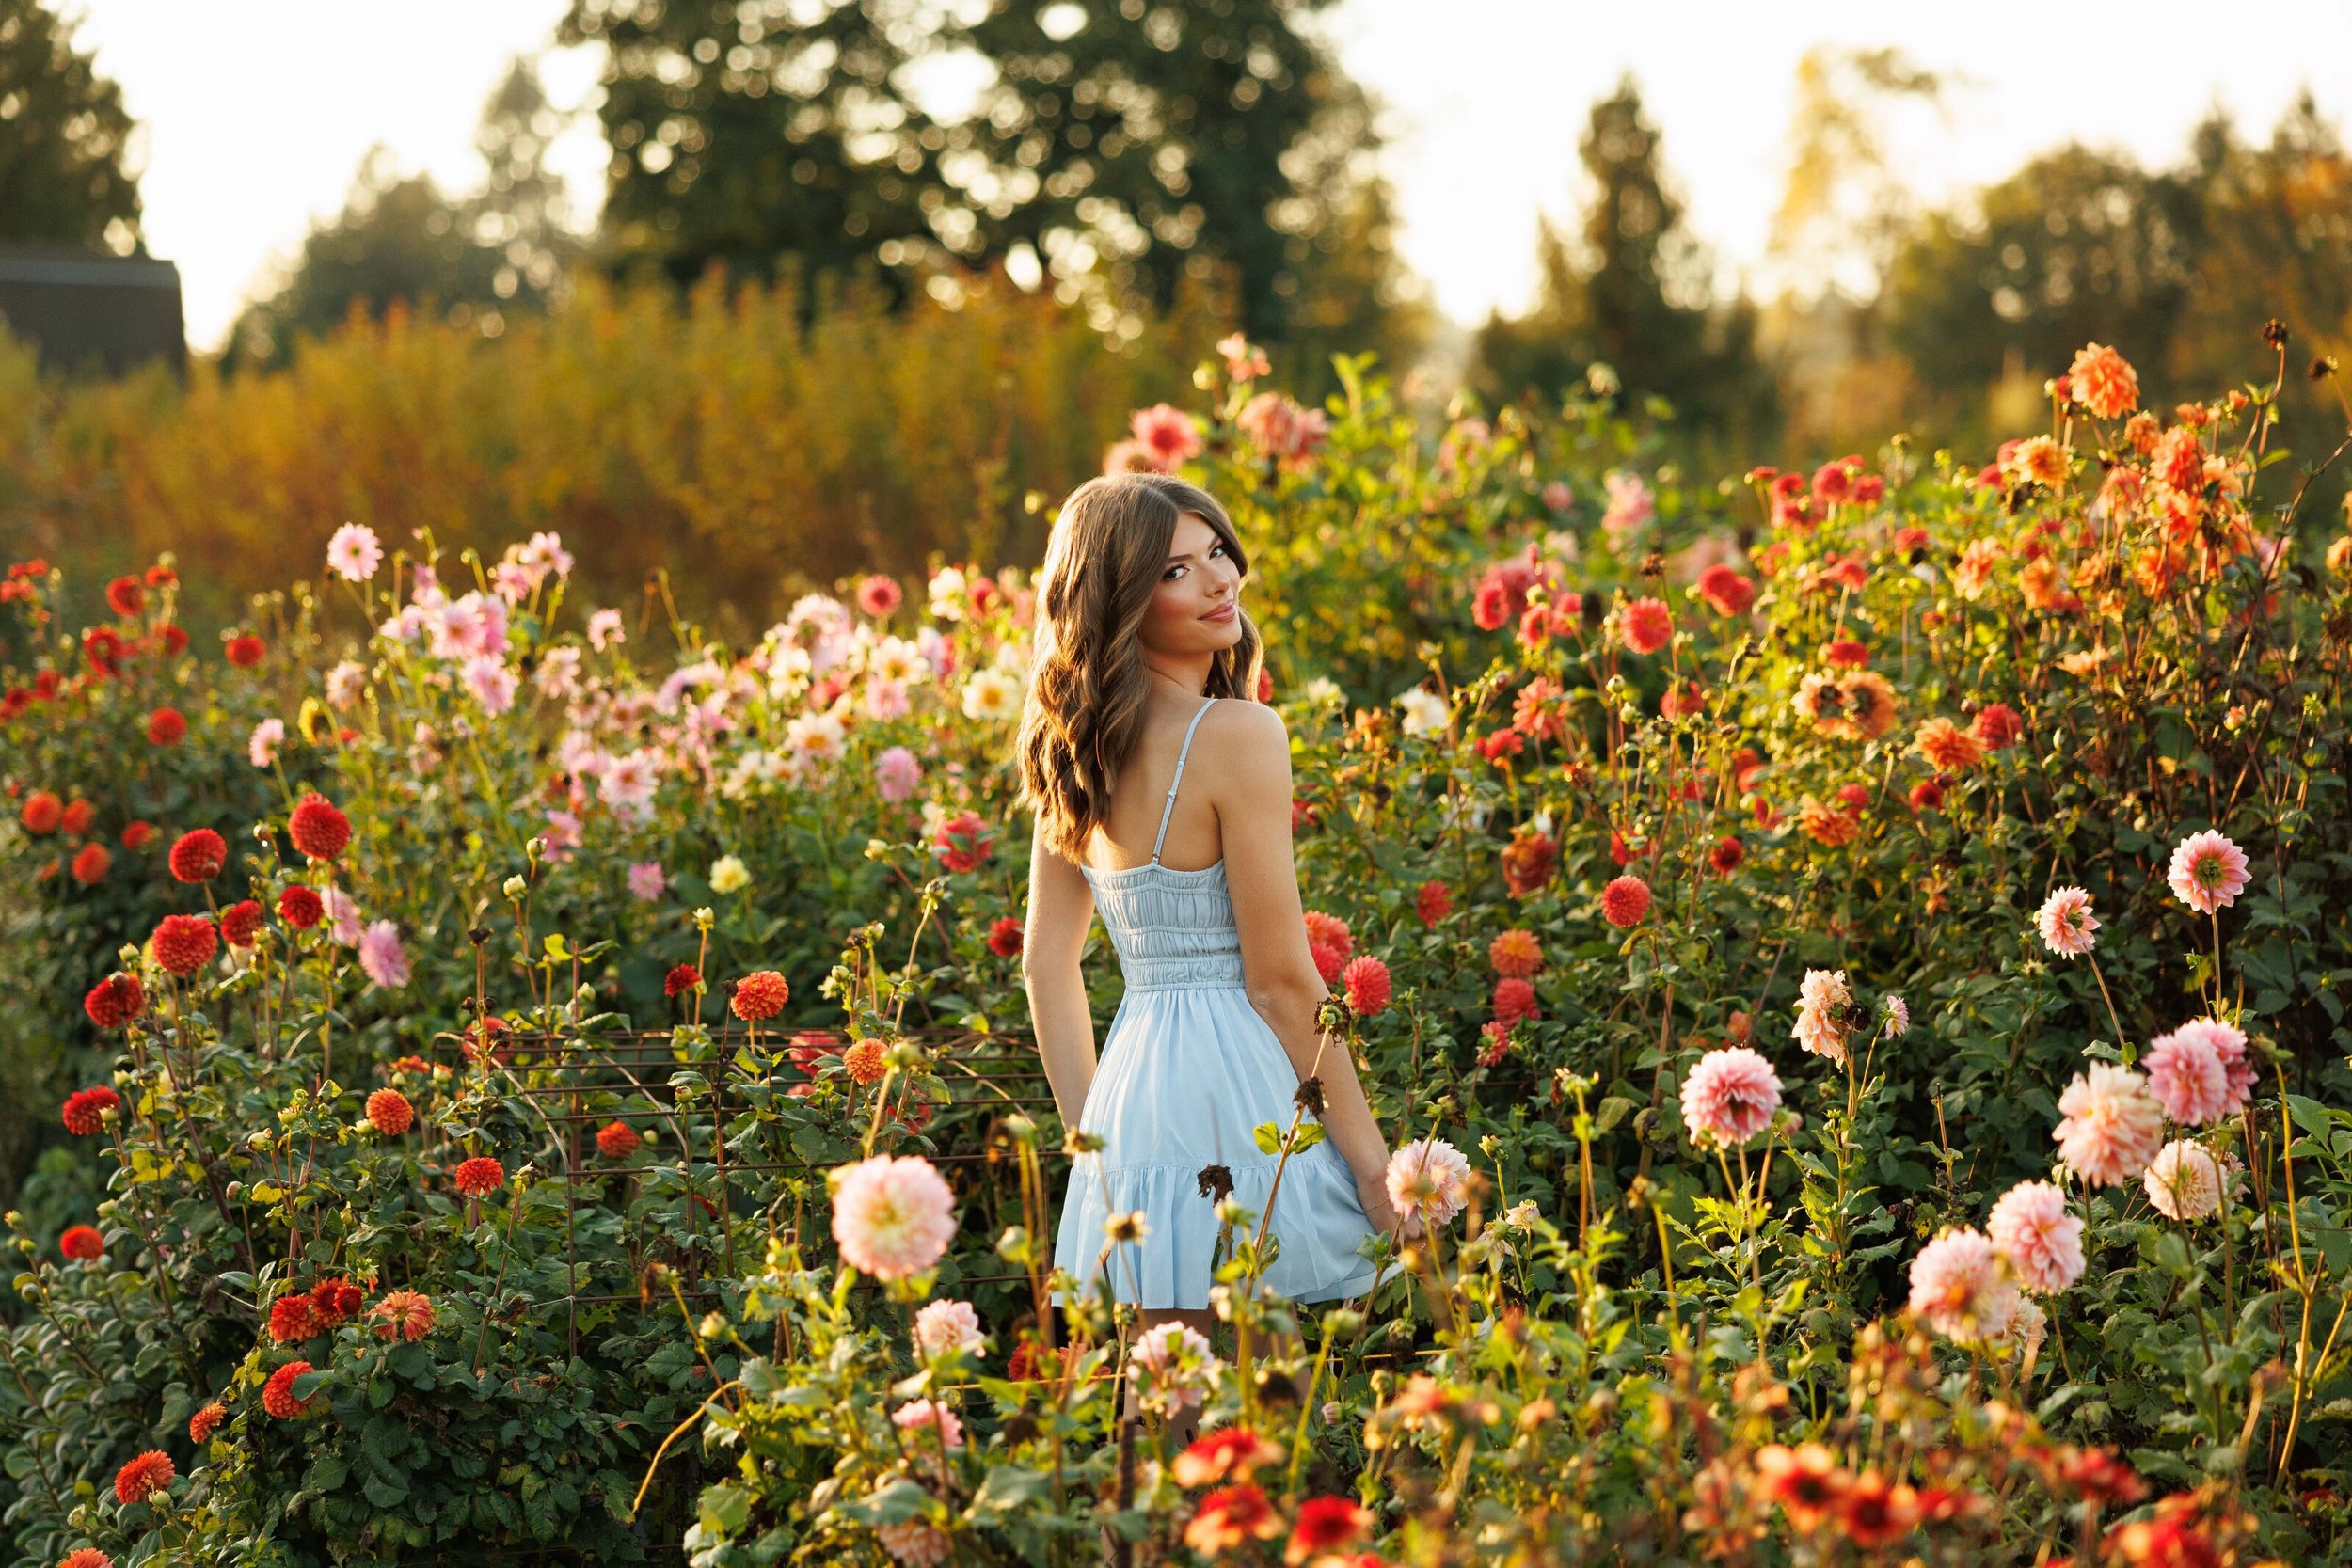
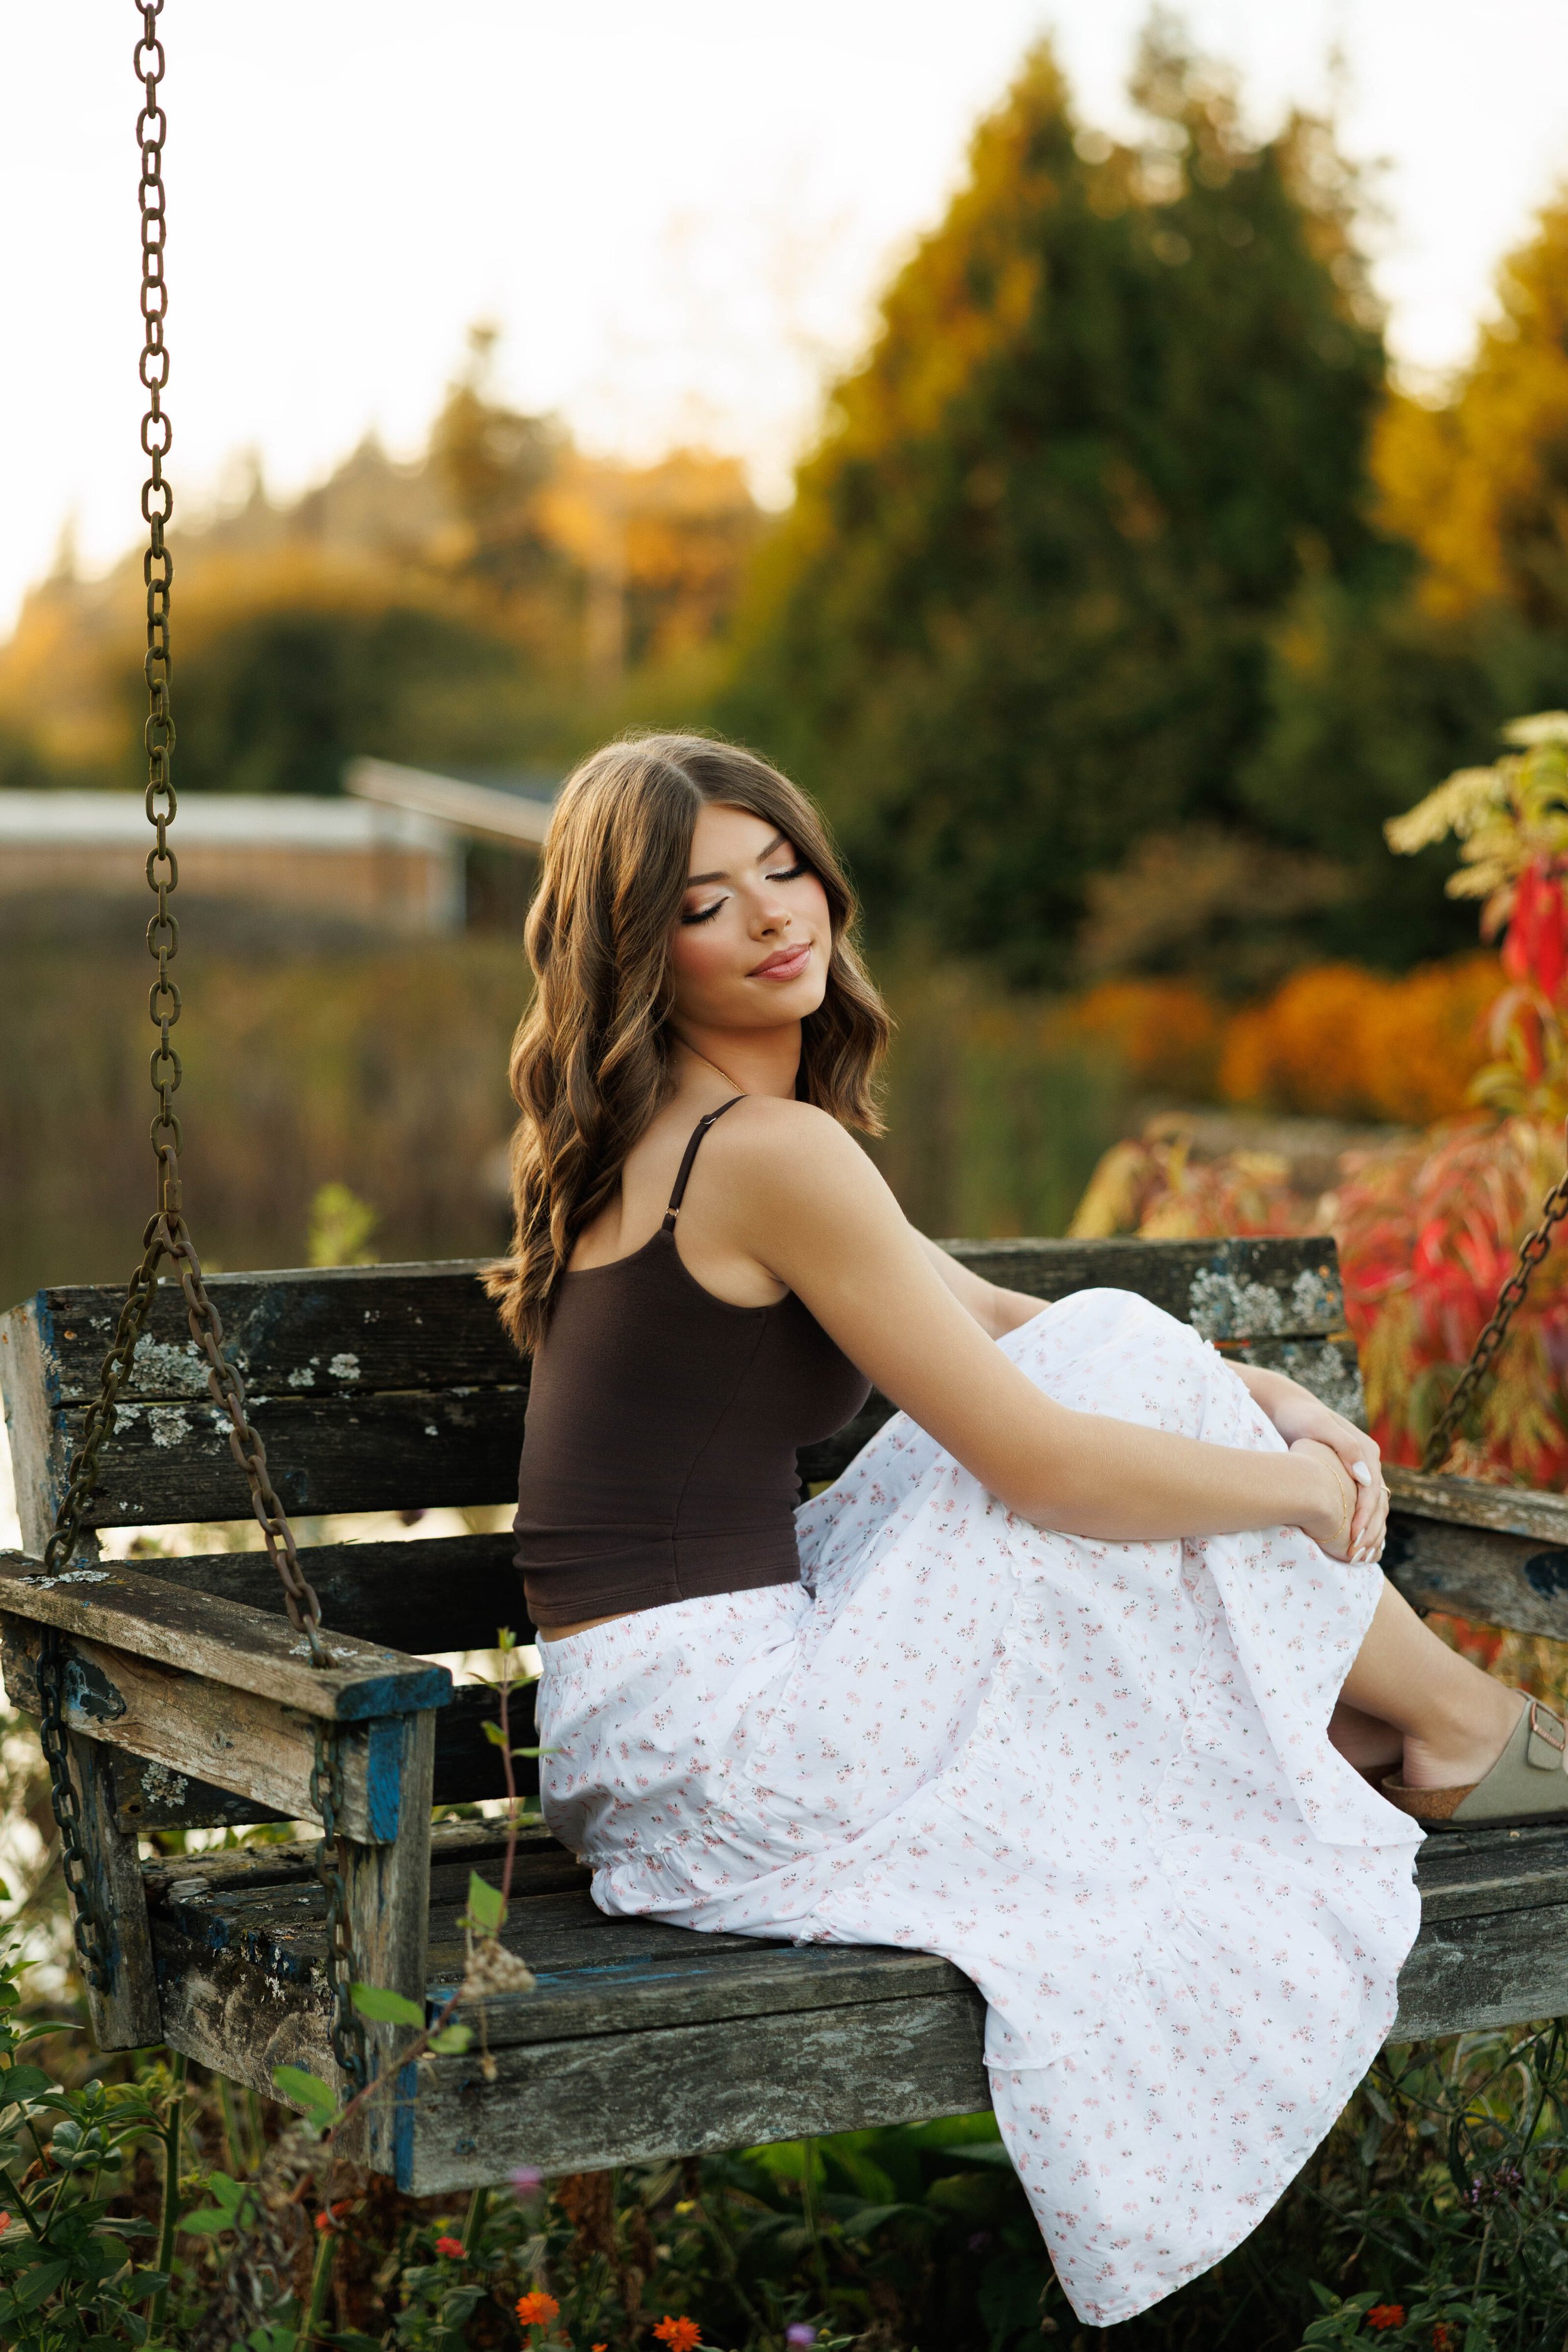
Pick your location. You can view our list of locations by clicking the button below. If you have a specific vision in mind, feel free to describe the type of location you’re looking for or send us a photo for reference. We will recommend the best location to match your style and vision. Once you’ve selected your location, please text us to let us know which one you chose.
STEP 7.
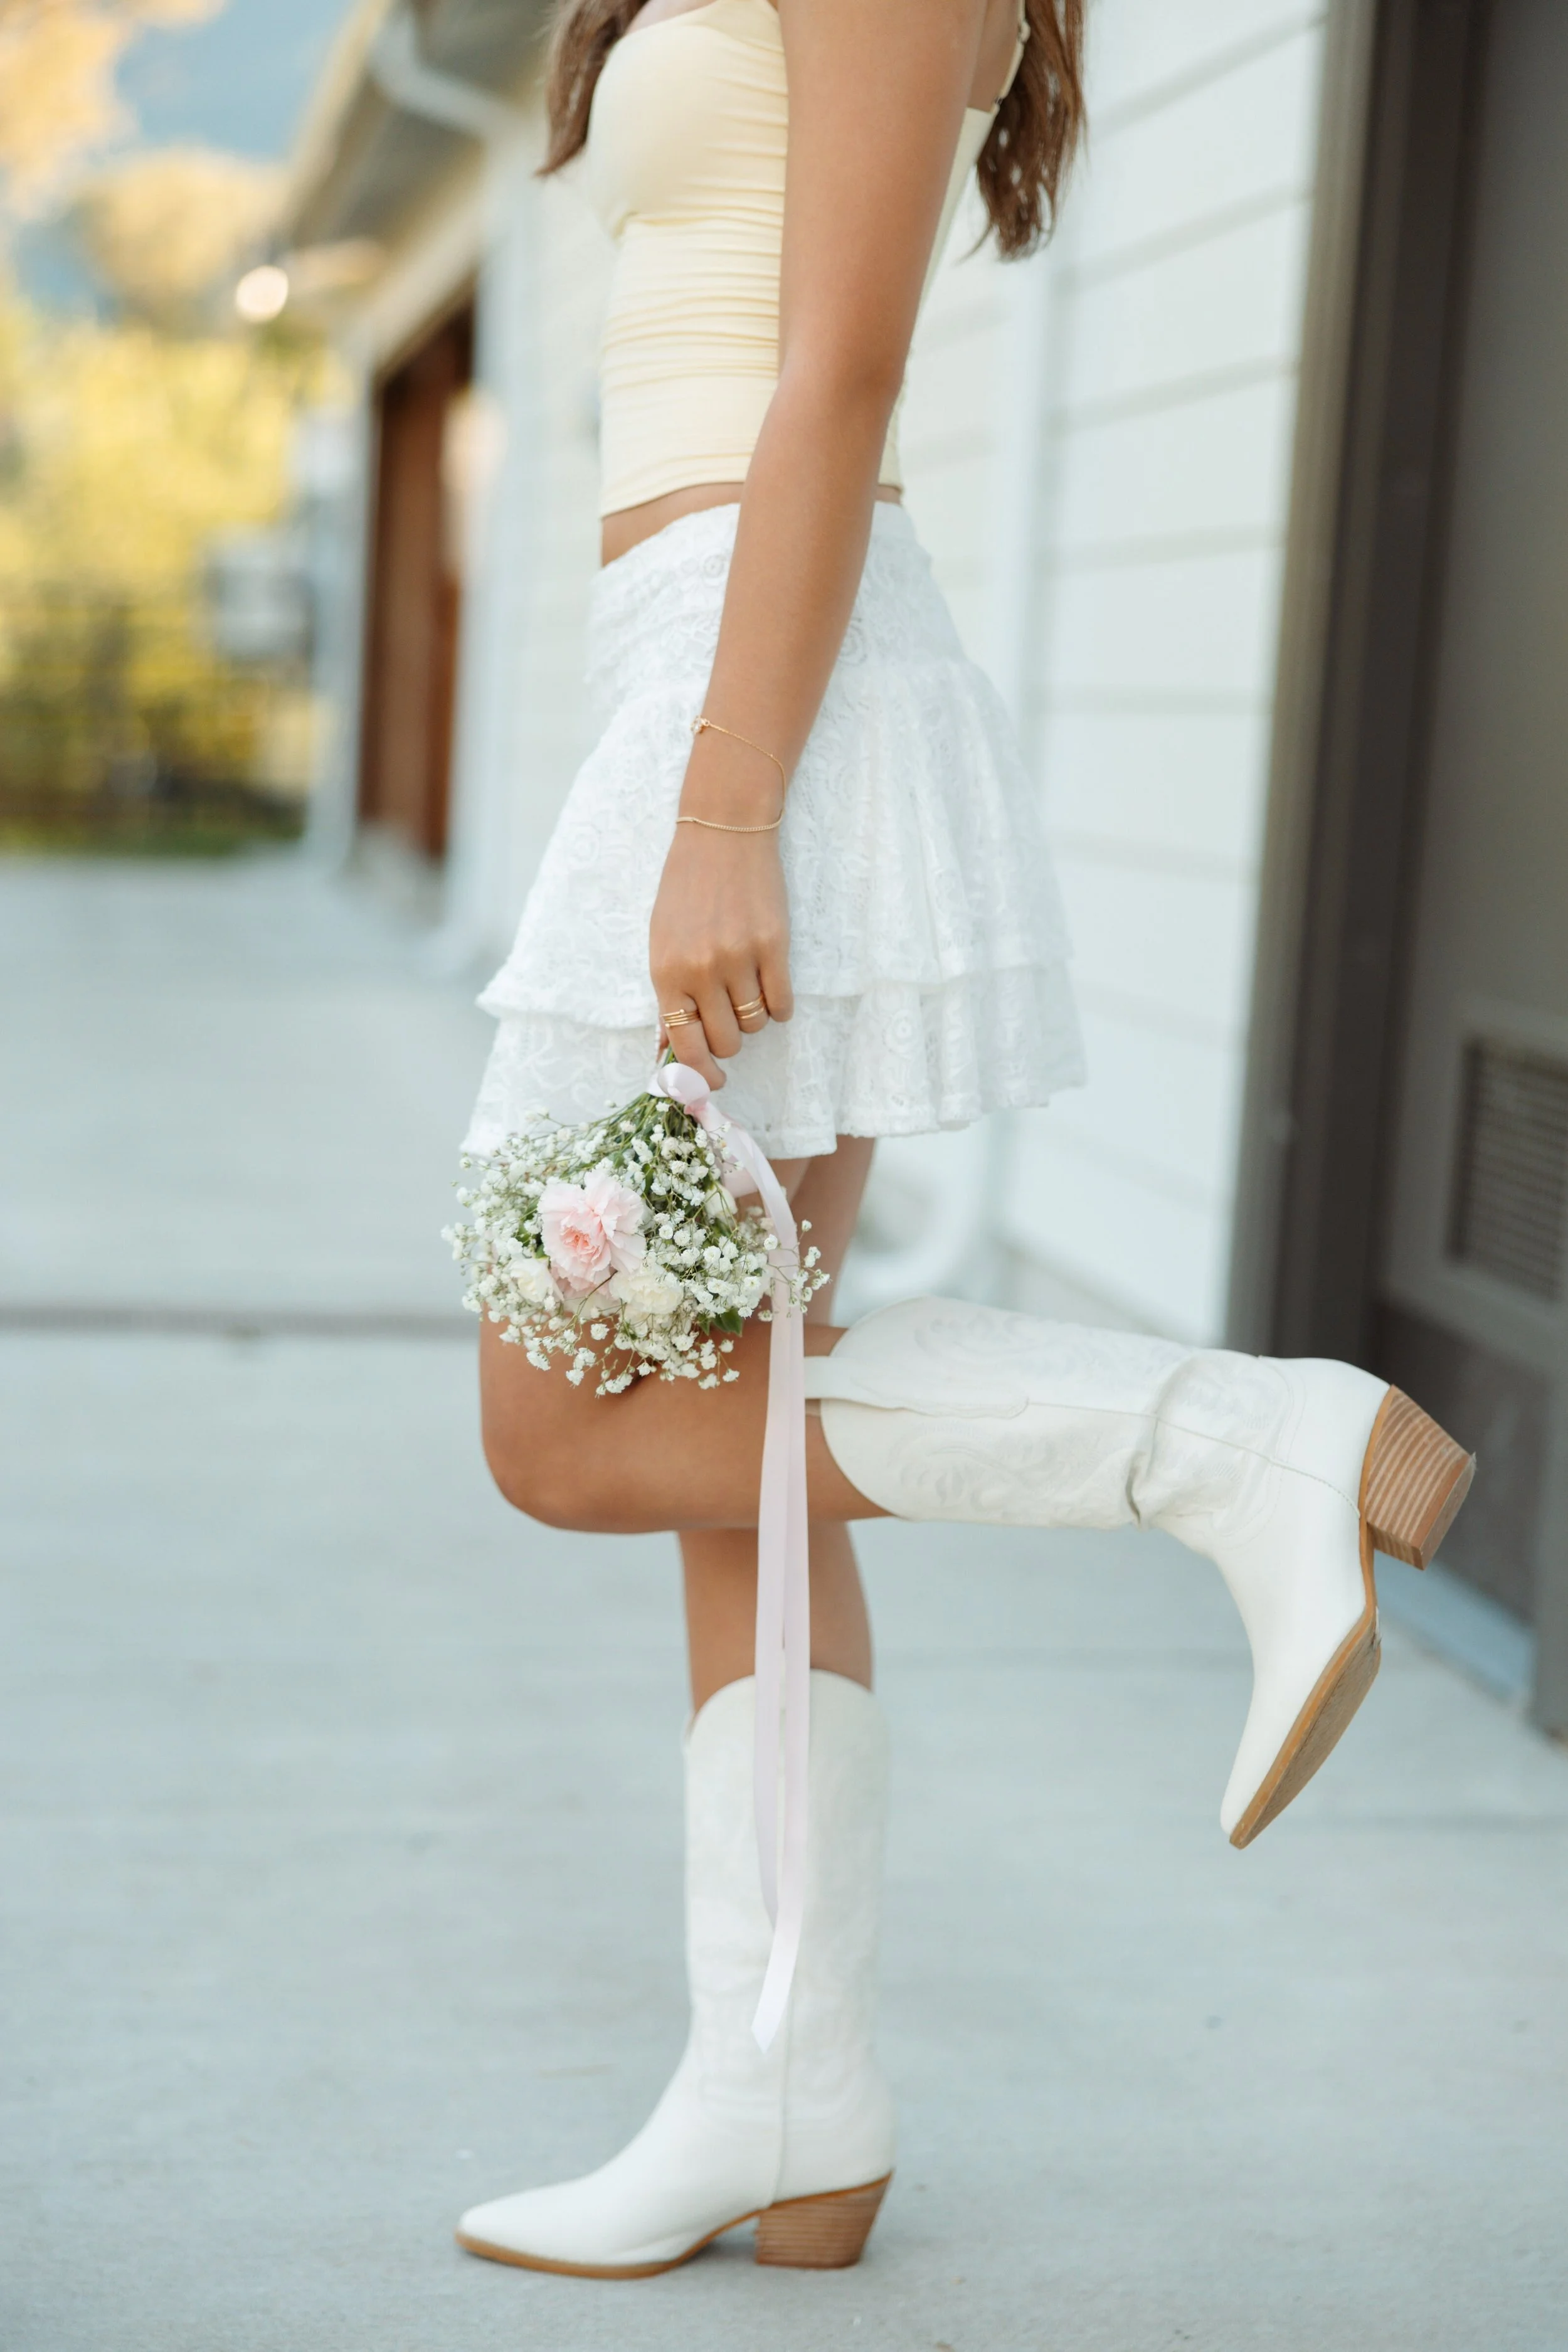
Plan your outfits. Pick 2–3 outfits that match you perfectly. Use the link below to help style your looks. Once you’ve chosen your outfits, please send us photos of each one so we can make sure everything looks perfect before your session. Your outfits are incredibly important because they have a huge impact on how your senior photos will turn out — the right wardrobe can make your images feel timeless, polished, and truly you.
STEP 8.
Book professional makeup and hair. We highly recommend booking a professional makeup artist, as it can make a huge difference in how your photos turn out. Professional makeup is designed to photograph beautifully on camera, enhancing your natural features while creating a polished, timeless look that elevates your entire session. Every makeup artist on our recommended list has experience working with seniors and understands how to create a look that photographs exceptionally well. Investing in professional makeup is one of the easiest ways to boost your confidence, reduce stress on the day of your session, and ensure you look and feel your absolute best in your portraits.
STEP 9.
Get introduced to posing. If you have no idea how to pose and feel a little anxious about it, you can view our Posing Guide to get a preview of how the posing process works. According to seniors who have worked with us, reading through it ahead of time really helps — and many say it made them feel much more confident going into their session. We highly recommend taking the time to read through it and even memorize a few tips. It will help you feel more prepared during your photoshoot and give you a better idea of what to expect.
STEP 10.
Get your senior photos taken. Next, you will meet with Marina, your photographer, at the location of your shoot. Please plan to arrive 15 minutes before your session begins to avoid running late, especially because of traffic or parking. If something unexpected happens, please do not stress if you are running 5–10 minutes behind. However, if you are 30 minutes late, it will be considered a “No-Show,” which is treated as a cancellation, and all payments made — including your final payment — will be forfeited. Because of that, please plan ahead and do your best to arrive on time. Before your photoshoot, make sure you read everything in the “Before Checklist” tab. It will help you tremendously and make sure you feel fully prepared for your session.
STEP 11.
Receive your review gallery. You will receive your full review gallery via text and email within 2–4 weeks after your session, unless you have a yearbook deadline coming up. If you do have a deadline, please text us about it as soon as possible, and we will deliver your gallery within 3 days after your session. Please select your yearbook image as soon as possible, text us the file name, and we can send that image fully edited within 3 days. The images in your review gallery will be watermarked. We do not remove too many photos because we want you to see all of the images from your senior session so you can personally choose the ones you love most.
STEP 12.
Receive your senior photos. Once you select the favorite images included in your package, we will begin the professional editing process, and your final edited images will be delivered within 4–8 weeks. Our professional editing includes: skin retouching, teeth whitening, unwanted object removal, cropping adjustments and etc. If you would like to purchase additional images beyond what is included in your package, you can do so at:
$18 + tax per fully edited image
$700 + tax for all lightly edited images from your review gallery
Please note that your 4–8 week delivery timeframe begins after you select your favorites from the review gallery. If it takes longer to choose your images, the final delivery timeline may extend beyond 8 weeks. If there is anything you feel was missed during editing, please let us know and we will gladly review it and make any needed corrections. Corrections might take 1-14 extra days.
STEP 13.
Submit your yearbook photo.
If you need help submitting your yearbook photo and feel confused by all the requirements, we’ve got you! Please text us your yearbook deadline along with your school’s submission instructions, and we will take care of it for you. Please note that we do not automatically submit your yearbook photo. Most high schools require a specific crop ratio and formatting, so it’s very important to pay close attention to those guidelines. Your school should provide detailed instructions on how to properly submit your image, so please make sure to follow them closely.